If you are only going to make one project for your baby’s room, this is it!

Baby’s Eye View of the Mobile
When I thought about decorating my son’s nursery, my DIY spirit tempted me to take on a long list of projects. Realizing that I should focus on simplicity over quantity, I opted to commit to a single project.
What project inspired me most?
I liked the idea of my baby peacefully enjoying a unique mobile that created just for him.
I selected this project after some disappointing shopping. I didn’t see a single mobile that I liked. To begin, I wanted something with a nice look both from the side (for me) and beneath (for baby). Also, I wanted soft colors (for my clean aesthetic) but something eye-catching (for the baby). I wanted it to feel organic but, I needed it to be motorized.
The resulting project was my solution.
How to Make a Felt Star Mobile
Time Required: 45 Minutes
Cost: $30
Tools
- Hot Glue Gun
- Hot Glue Sticks
- Fabric Scissors
- Sharpie
- Pencil
Materials
- Mobile Hanger (model pictured)
- Mobile Motor (model pictured)
- White paper or thin cardboard
- White string
- Royal Blue Felt (2 sheets)
- Dark Grey Felt (2 sheets)
- Light Grey Felt (2 sheets)
Instructions
Making a felt star mobile requires a trip to the craft store and a little online shopping.
Step 1: Cut Out Stars
I traced and cut out stars on white copy paper. However, you could buy pre-cut stencils for any shape.

Step 2: Cut Felt Stars
I cut out the stars from the selected felt colors. You’ll need 2 sides for each shape. So, I cut the following:
- 20 small light grey stars
- 20 medium dark grey stars
- 10 large blue stars
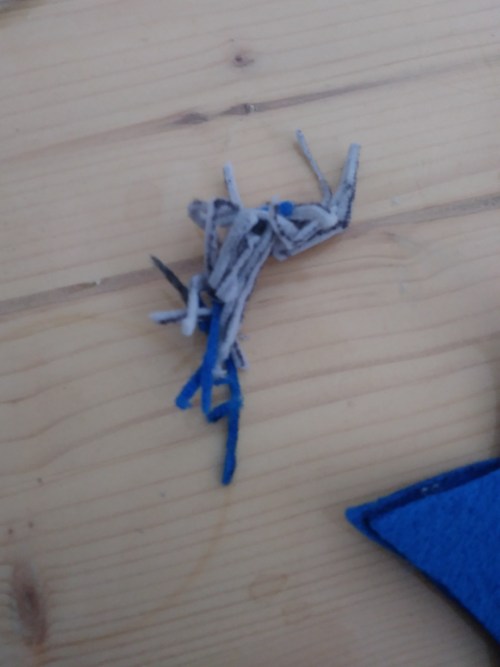
Make sure you keep the fabric scraps in a pile to use as stuffing later.


Step 3: Create the Blue Stars
These stars hang at the bottom of each strand. Using your scissors, poke a hole in the middle of 5 stars. Then, thread the white string through. Stuff each star using fabric scraps and seal it with hot glue. In the end, you should have 5 strings with a big blue star at the bottom.


Step 4: Add the Grey Stars
Add the grey stars one at a time. They can be spaced about 2 inches apart. You can measure them evenly or vary them for an organic look.
Keep each star in place on the string with a dot of hot glue. Then, glue both sides together around the edges.
Repeat this until you’ve added all the stars for each strand.


Step 5: Assemble the Mobile
In the end, you should have 5 strands with 5 stars on each. Hang these from your mobile kit by tying a knot on each end. You can hang them evenly or vary the heights.
I chose to vary the lengths for a more whimsical an organic look.


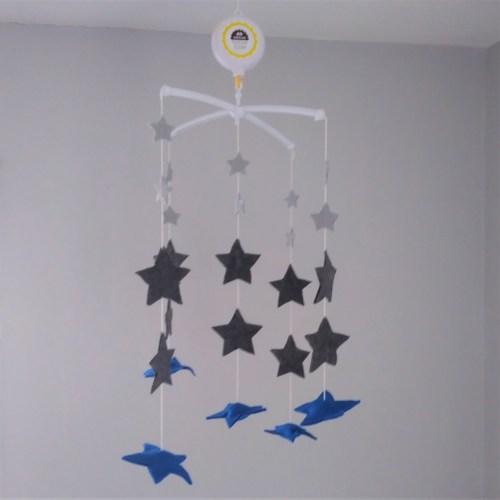
I attached the mobile to the ceiling using a 3M hook. The small motor plays music and spins the motor. This light-weight mobile spins with the breeze or when the motor is on.
Let’s See Yours
In the end, I created a simple felt star mobile that my baby loves. You can see how this concept can be changed for different colors and shapes. It’s lightweight and whimsical to perfectly match the feel of the room.

My Calm, Minimalist Nursery