Although it’s less sensual than designing and filling a physical storefront, building a retail website is a similar creative experience. Your colors, fonts, and graphic elements to bring your brand to life. Product photos set the scene to highlight the product’s wonderful details. Descriptions and supporting copy sell the customer. Each of my retail website tips helps you plan, design, and launch an online shop that your customers will love.
Planning
The main difference between an online store and a brick-and-mortar shop is the way you will manage inventory. Online product listings should have a long shelf-life — which is the opposite of how most people manage inventory.
Essentially, you need to pick products that can fit under a single broad listing with variations. As an example, a T-shirt store would want to create a listing for a shirt with a smiley face on the front. The variations could be the shirt size and the color of the shirt. You would not want to list only one shirt available in one color and one size.
Why?
First, it’s inefficient. It takes time (or money if you are outsourcing) to create each listing. That cost is part of your overhead on the shirt. You can divide that overhead between multiple sales if you create a listing that will work for more than one item.
Second, it’s not ideal for search engines. Search engines prefer content that has been up for some time. Also, they favor product listings that have long, keyword enriched descriptions, backlinks, reviews, and great photos with alt text. If you create a listing that can remain up for several weeks (or even longer), search engines have more time to find your product. A product listing for a single item (that needs to be removed after it sells) won’t perform as well on search.
As you’re planning your store, this tip should inform the way you choose your inventory. It will affect the way you organize your categories, tags and individual listings.
You’ll also need to plan for important details like your process for shipping, fulfillment, returns, and even taxes. Depending on the platform you choose, you find different tools to manage each of these functions. Ideally, your website will be set up to complement your normal workflow.
My Top Tip: Plan your inventory before you design your website. This gives you a chance to customize your layout to highlight your collections, categories, and brands as needed.
Copy
Your store will need several types of website copy. As discussed above, each of your product listings will need a description — a long and short version. This copy should be written for the web and targeted toward your consumer. Additionally, it should be optimized for search engines (SEO).

My Top Tips:
- The short description should be 1-2 sentences that clearly define your product.
- The long description allows you to add keywords into the story of the product. You can discuss the origin of the product, how it was designed or sourced, and help the customer imagine it as part of their life. Just don’t go so crazy with the adjectives that your copy becomes unreadable.
- Try to use active voice as much as possible. It makes the copy more exciting to read. Also, search engines favor strong verbs.
- Break down details into bullet-point lists. This allows readers to skim for the features that interest them.
- Make sure it’s easy to find your product’s specs like size, weight, color, and materials.
- Run your final description through a reading ease tool.
In general, search engines favor well-written, clear product descriptions.
Also, you’ll want a strong, consistent representation of your brand throughout the various pages. If you don’t have one already, consider developing a brand guide or a messaging/copywriting guide to support these efforts.
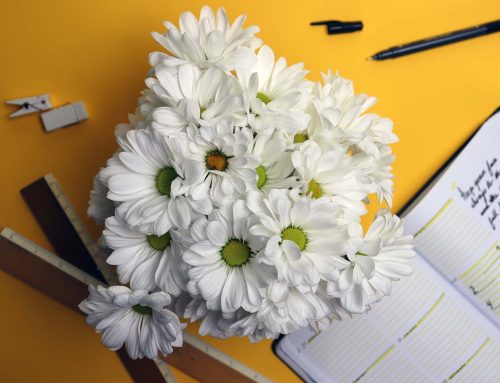
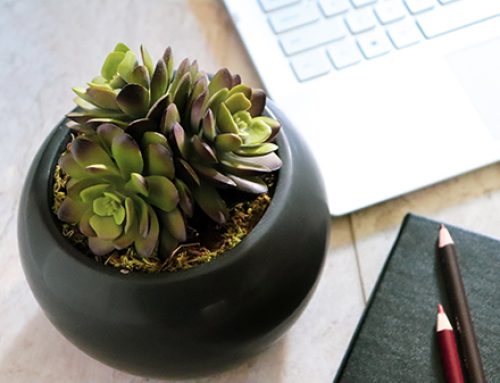
Photography
In general, I group product listing photography into two categories. First, each product should feature photos that help the customer see the product clearly. These should be shot on a plain background (usually white or black). They should cover all angles and any notable details.
Second, you’ll want shareable lifestyle images. These put the product into a setting or on a model to help the customer image its use. They should provide some context — helping the customer understand the size, texture, and shape in relation to real-world objects. Also, they’ll provide featured images for social media that customers will enjoy saving and sharing on visual platforms.


My Top Tip: Make sure you take images in several orientations to ensure you can crop to the proper specs for various uses.
- SQUARE: Many social media platforms favor a 1:1 ratio. It’s a safe size to use on Facebook, Instagram, Twitter, and Pinterest. Additionally, a lot of online store templates use a 1:1 crop for product images.
- NARROW: Whether landscape or portrait, a 16:9 and 6:9 ratio are commonly needed sizes in digital designs. For example, most hero sections and covers on websites need a very wide image. Also, social media platforms, like Pinterest’s pins, and stories on Instagram and Facebook, favor a narrow, portrait image.
- PORTRAIT VS LANDSCAPE: You’ll also find common portrait and landscape sizes, such as 4:5, 5:7, 8:10, and 2:3 are useful. These can fit alongside copy in more complex designs.
Overall, photography allows your customer to experience your store and your products just like they would in person. So, you need to carefully curate these visual assets.
Design
Once you plan the inventory, develop your copy and collect your images, it’s time to work on your website design. Ideally, it will be customized for your brand and support the functions of your business.
Most of the time, I find my customers prefer their designs to include a few key areas:
- Featured products allow you to highlight specific listings in a single section.
- Categories help customers quickly navigate.
- Suggestions like upselling or cross-selling items show similar or complementary products.
Also, think through areas that may need updating like blogs, social media, and seasonal sections. They’re valuable for keeping your website fresh — if you can keep them updated. Otherwise, customers will assume your site is out of date when your “Fall Sale” is still showing in March.
My Top Tip: Incorporate details of your brand like fonts, colors, and graphic elements into your website design to make your theme feel custom.
Tracking
After you launch your site, make sure you install tracking tools like Google Analytics and sync with your social media manager (if you have one). These valuable insights will help you understand how customers are using your site as they go page-by-page. Additionally, you’ll want to keep track of your sales — noting which items are the most popular, which ones are abandoned in the cart, etc.
My Top Tip: Do a click-through of your website monthly. It can help you find glitches that would detract from the customer experience.
My Top Retail Website Tips
You can create a website that your customer will love. You just have to keep their experience in mind as you plan your store.
My Top Retail Website Tips:
- Plan your inventory before you design your website.
- Write for your customer first but, rework it to optimize for search engines.
- Invest in photography to bring your customer into the experience of your store.
- Customize your website’s design for your brand by using the colors, fonts, and graphic elements from your other marketing materials.
- Regularly review your website to correct glitches and make plans for enhancements.
You can find more tips with my article, “How to Build a Retail Website that Sells.“
If you liked this…
If you enjoyed this post, make sure you follow me on Facebook or Instagram. I regularly update my feed with helpful marketing tips.
My name is Danielle and I have a Lynchburg marketing agency. I’ve brought together a small team that specializes in marketing services for makers, eStores, and retailers. We’ll make sure your products are online and ready to sell. And you can get back to the parts of your business that you love.
Working with us is simple. I am the main point of contact on all my accounts. I visit in person or schedule phone calls to discuss your projects. My team members are all located in Central VA and we work together closely. (No passing you off to a junior coordinator after you sign!)
If that interests you, please reach out to me at danielle@theshopshop.co.
text